
Wildlife Photography Tips for Beginners
Get started with nature photography with these simple tips.
Wildlife photography is a hugely popular genre, with hundreds of beautiful and varied different subjects to choose from. The good news is that you don’t necessarily have to go f ar to find some local wildlife to capture on camera – giving you the opportunity to hone your technique regularly, and hopefully produce some stunning animal photography shots.
There are a few key things to think about when it comes to photographing animals, especially wild ones. You’ll need to research your locations, take the appropriate gear with you and think carefully about your camera settings. In this post we’re going to take a look at some of the information you need to know if you’re thinking of getting started with wildlife pictures.
Wildlife photography: getting started
Wildlife photography is one of those genres where it really pays to do your homework before setting out on a shoot to avoid disappointment.
First of all, you might want to think about the type of wildlife you’d like to shoot. You may be lucky enough to have birds, insects and other wildlife in your very own back garden, but if you don’t, you shouldn’t have to look too far to find something to photograph. If you want something a little more unusual, national parks can be a great place to start your nature photography – take a look at official websites to find out what’s available. Of course, you may also want to venture further afield, on a destination or overseas trip to capture a specific type of wildlife – again, it pays to take a look at what’s available and plan ahead.
Next you should spend some time researching your chosen animal’s behaviour. There’s no good turning up to a renowned wildlife hotspot only to find that all the animals are asleep, or have migrated due to the seasons. A quick look online to determine the typical patterns of your intended subject can pay dividends.

Best weather for wildlife photography
Although you will be restricted in some ways by how animals behave when faced with different weather conditions, there are some other aspects of the weather to consider when tackling wildlife photography.
If you can, seek to shoot at the golden hour. You may have heard a lot about this special time for photography – it generally refers to the hour or so around sunrise or sunset, when the sun is low in the sky and creates a golden glow. For wildlife photography, this can be especially beautiful, and it can also be the time when some animals are most active.
Try to avoid shooting at midday, when the sun is at its strongest. The harsh shadows caused by bright sunlight are not usually conducive to great animal shots. If the weather is cloudy however, you have a little more flexibility – an overcast sky acts a bit like a huge softbox, with flattering and even light which can work extremely well.
When planning your shoot, you should also take into consideration the weather forecast – some animals hate the rain, but others love it, so try to find out both what the weather is scheduled to do, and how your subject is likely to react.
Best kit for wildlife photography
As with most photography subjects, you can start out with a relatively basic kit bag, adding more as you get more deeply involved.
In terms of which camera is best, there are several options. For DSLRs, the standard advice is often that full-frame gives you the best image quality. However, when it comes to wildlife photography, the “crop factor” associated with a smaller, APS-C sized, sensor, can be beneficial in helping you get closer to the subject.
Being able to shoot at a fast frame rate is also useful. The Nikon D500 is an excellent choice, with its 10fps shooting speed and APS-C sensor. If you were to use a 100mm lens with a Nikon D500, you’d actually be shooting at 150mm, whereas a 300mm lens converts to a 450mm – handy if you need to get as close as possible to your subject without getting too close in person.
For compact system cameras, you also have a lot of great choices currently on the market. Olympus and Panasonic cameras use a Four Thirds Sensor, which has a 2x crop factor – in which case, a 300mm lens becomes a 600mm equivalent, which is even better for getting close to the action. Both Panasonic and Olympus have impressive shooting modes which allow you to shoot at super fast frame rates, and then choose the best frame from a range of stills. The Olympus OM-D E-M1 Mark II is a fantastic option, with its superb optical image stabilisation system also being handy for this type of photography.
If you don’t want a camera with interchangeable lenses, there’s a good range of bridge and superzoom compact cameras which you can use to great effect for wildlife photography. As an example, the Sony RX10 III has a 25x optical zoom, giving you an equivalent of 600mm to work with.
In terms of lenses, something which offers a long focal length is a good idea for helping you get as close to the subject as possible. The Nikon AF-P DX NIKKOR 70-300mm f/4.5-6.3G lens is a flexible and affordable choice. Lenses such as the Sigma 150-600mm f/5-6.3 DG OS HSM C will get you even closer to the action. Similar lenses are available for Canon, including the Canon EF 70-300mm f4-5.6 IS USM.
For Micro Four Thirds, there are options including Olympus M.ZUIKO DIGITAL ED 75-300mm f/4.8-6.7 IS lens. Other lenses for other mounts, are also available – look for a long focal length wherever possible.
There are other lenses you may also want to consider taking with you. A wide angle lens can help you to show context and an animal’s natural environment, while a macro lens is ideal for photographing insects and other small wildlife.
If you’re using very long lenses, a tripod is essential to help you get sharp shots. Something which is stable, but also easy to carry around makes sense for wildlife photography, as you may find you have to walk long distances to get to your subject. The Manfrotto BeFree Compact Travel Tripod is a good example of a tripod which is light enough to easily transport.
Other pieces of kit which can come in handy for wildlife photography include remote releases, binoculars, camouflage gear and lens filters.
Best camera settings for wildlife photography
As always, don’t be afraid to experiment with different camera settings, but there are some starting points you can use to get you off on the right foot.
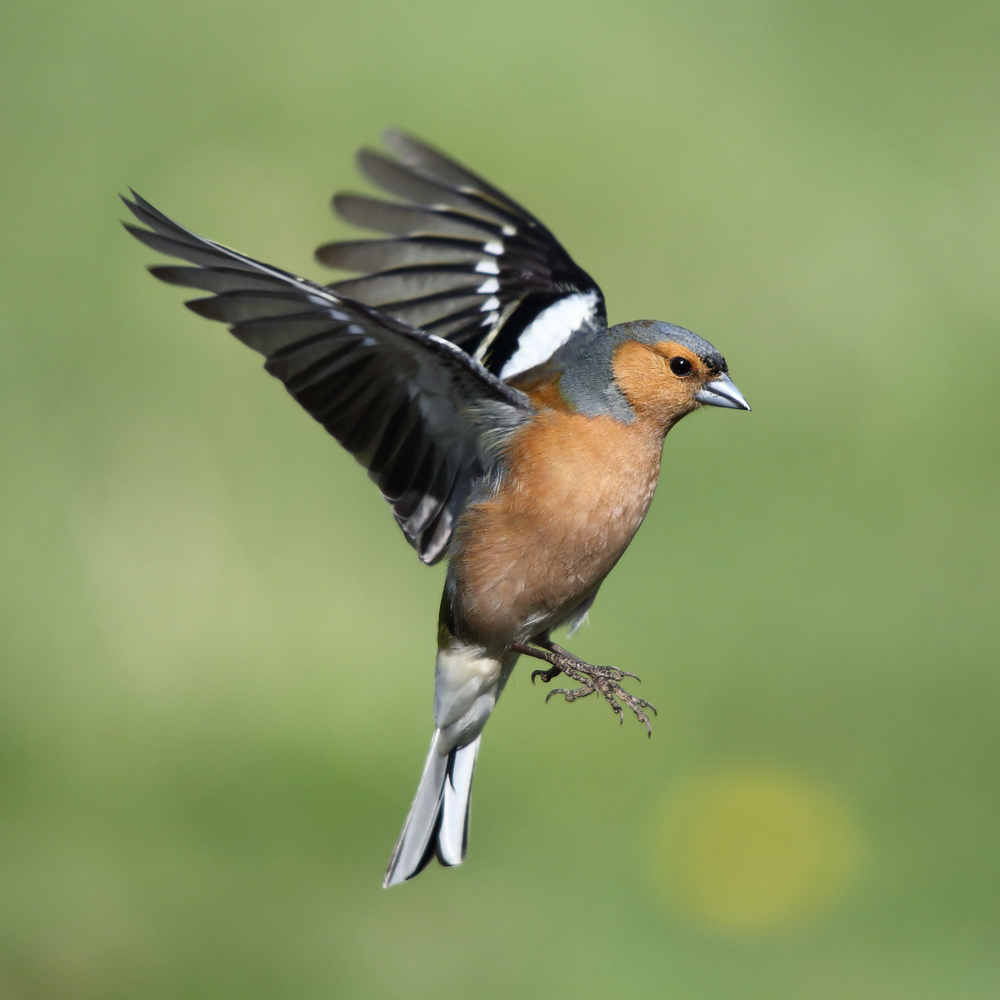
Use a fast shutter speed in order to freeze an animal’s movement and to prevent blur. To allow for fast shutter speeds, increase ISO from low or base levels, using mid-ranges such as ISO 400-800, depending on the lighting conditions.
Your aperture is likely to depend on the subject. A wider aperture is great for isolating subjects from the background, but a narrower aperture is ideal for context and environmental shots. Bear in mind that even reasonably narrow apertures, such as f/8, will result in a shallow depth of field effect if you’re shooting with very long lenses.
It makes sense to shoot in Raw format if your camera offers it, giving you the opportunity to adjust and tweak key parameters in post production if necessary. For white balance, adjust to match the situation, such as Daylight or Cloudy – but by shooting in Raw format, you can adjust afterwards if the camera hasn’t got it quite right. Choose a fast drive mode, along with continuous autofocus if you’re tracking a moving subject. Be aware that your memory cards will fill up faster if you’re shooting lots of photos in quick succession – always carry a spare.
Best composition for wildlife photography
Once you know some composition rules, you can begin to break them. The same is true for wildlife photos.
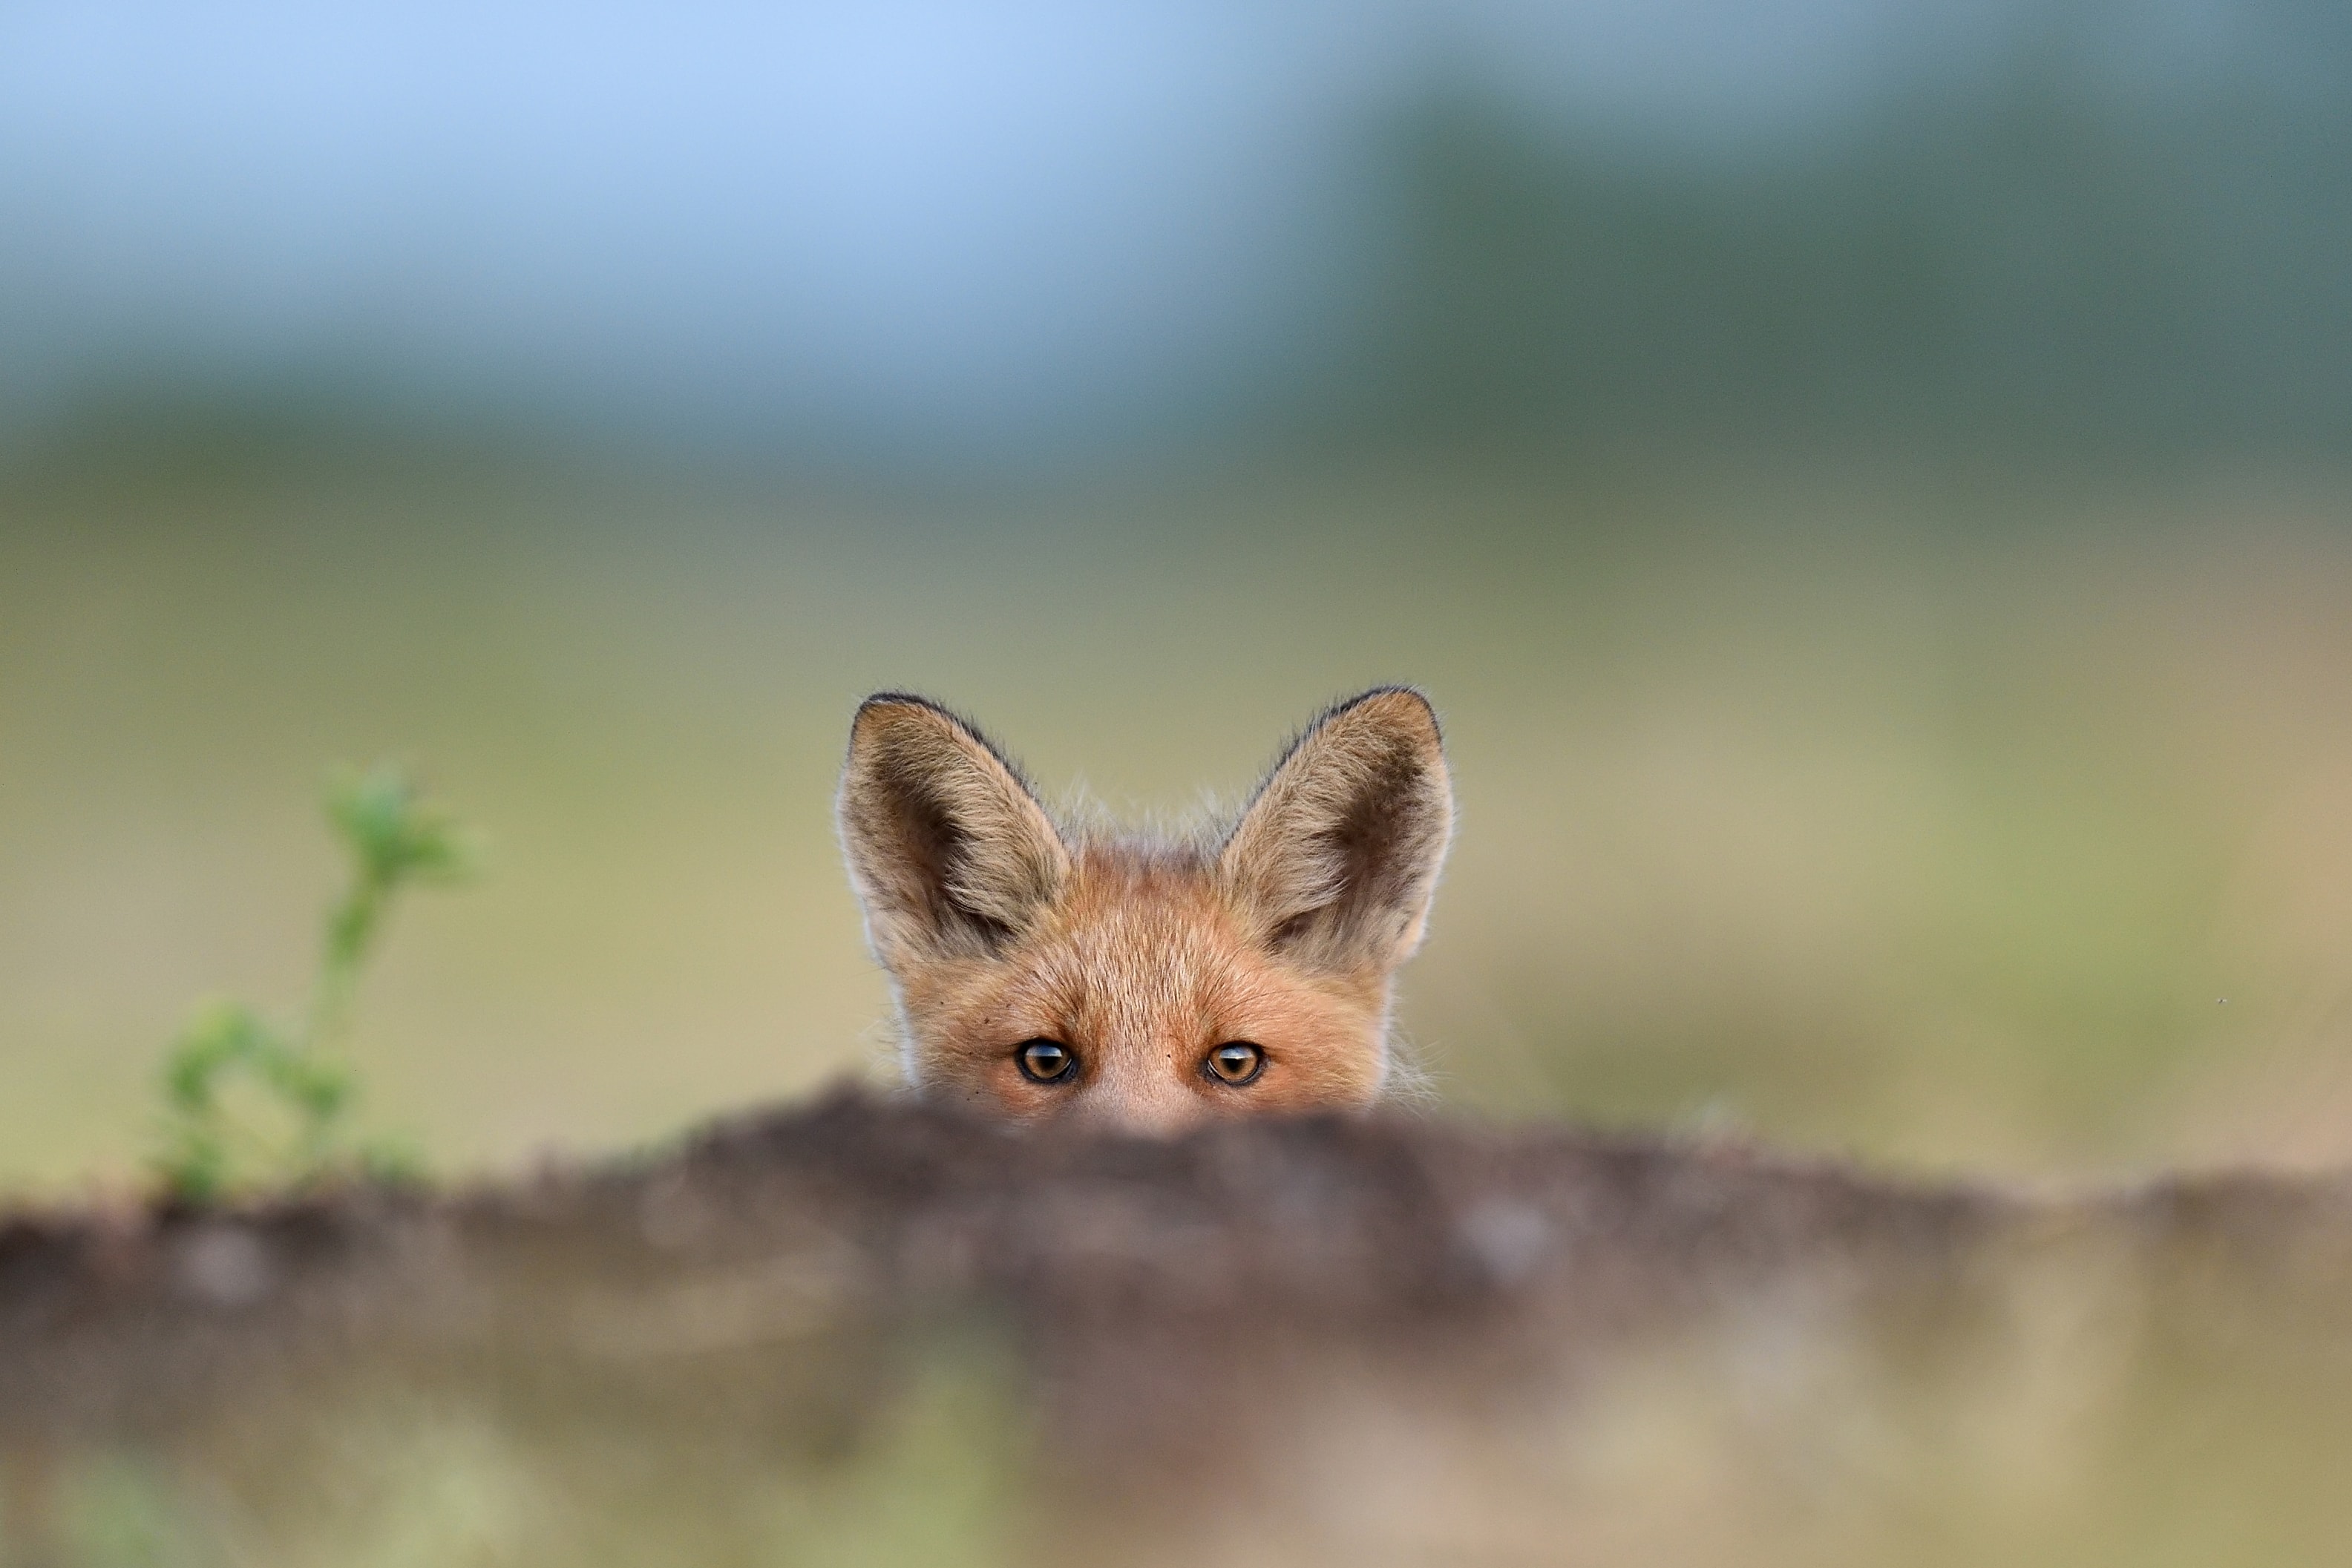
You can think of some types of wildlife photography in the same kind of terms as portrait photography. That means getting eye contact with your subject is the ideal aim to create striking animal portraits. Use a shallow depth of field to isolate the subject from the background, and always pay careful attention to any distractions appearing in the background that could ruin an otherwise good capture.
Classic composition tips, such as the rule of thirds and using leading lines, are also strong ideas for wildlife photography. Some subjects will also work well by being placed in the centre of the frame, while frame-filling close-up shots can be great to give you a more unusual view of the animal you’re photographing. Why not try lots of different compositions and putting all the shots together in a collage or montage?
We’d love to see your animal and wildlife photography – please share your best shots on Instagram, Facebook and Twitter.
Products
Sign up for our latest news and offers
Receive the best offers right to your inbox by signing up to our newsletter
Thank You
